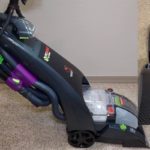
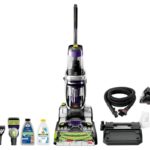
Bissell has a reputation for being one of the best brands in vacuums. Their machines are known for their ease of use and powerful suction. They also offer great warranties.

If you want to get the most out of your Bissell, then you need to regularly clean it.
If you have a Bissell vacuum cleaner, then you know how important regular maintenance is. You should be able to keep your machine running smoothly by cleaning it regularly.
In this article, we’ll be taking you through the process of cleaning all the components of your Bissell CrossWave step-by-step. So if this is something you’re curious about, read on!
Which Parts Need To Be Cleaned?
Before we get into the step-by-step guide, it’s worth mentioning which parts of the Bissell CrossWave need to be cleaned.
According to Bissell, the CrossWave has four main components that need to be cleaned, these are:
- Brush Roll
- Brush Chamber
- Dirty Water Tank
- Easy Clean Storage Tray
Any seasoned CrossWave owner will tell you that there are in fact six parts to focus on when cleaning your machine, the other two being the float and air filter.
The brush roll and chamber are easy enough to clean, as they don’t require any special tools or equipment. However, the dirty water tank and storage tray can be quite tricky to remove.
Before cleaning any component of your Bissell CrossWave, ensure that the vacuum is switched off and unplug the power cord.
So let’s take a look at each component and take a step-by-step approach to cleaning each of them.
Cleaning Your Bissell CrossWave Brush Roll And Brush Chamber
The brush roll is a vital component of the CrossWave. It’s designed to scrub the floor and dislodge those stubborn stains and debris so that the vacuum can suck them up.
It’s essential to clean the brush roll and chamber so that it won’t become jammed or tangled up with hair.
The brush roll should be replaced roughly every six months.
Step One
The first step to cleaning the brush roll is to remove the brush roll window. This is a transparent piece of plastic situated at the front of the cleaning head. Grab onto the window and gently pull it upward to remove it.
Step Two
Next, you’ll need to remove the brush roll from the vacuum. There should be a pulling tab at one end of the brush roll, where it connects to the vacuum.
Step Three
Now that the brush roll has been removed from the vacuum, naturally you’ll need to wash it. Both the brush roll and the brush roll window will need to be washed with warm water. Rinse the brush roll until the water runs clear through it.
Step Four
Once you’ve left the brush roll and window out to dry for a few hours, follow the steps above in reverse to reassemble it.
Cleaning The Bissell CrossWave Dirty Water Tank
Whilst there are two water tanks on the Bissell CrossWave, a clean water tank and a dirty water tank, the focus of this step-by-step process is for the dirty water tank.
Ideally, you should clean the dirty water tank after each use. This is because letting the dirty water sit in the vacuum might stink up the vacuum.
Step One
The first thing you’ll need to do is release the tank. The release button is located at the top of the tank. Press this down as you hold onto the protruding handle on the front of the tank and pull outward. The tank should now be loose from the vacuum.
Step Two
To get to the inside of the tank, you’ll first need to remove the top. You’ll notice that there is also an air filter, we’ll talk about cleaning the air filter further down this article.
Pulling gently on the top of the tank should remove it.
Step Three
Now that the top has been removed, pour the contents of the tank down the drain. Be sure to check for any small debris trapped in the tank. If there are any, use something like a knife or fork to pry them out.
Once the tank is empty, it’s time to clean it.
Run the tank under cold water until the water coming out runs clear.
Step Four
Once the tank has been left out to dry, following the steps above in reverse will enable you to reinstall the dirty water tank.
Cleaning The Bissell CrossWave Easy Clean Storage Tank
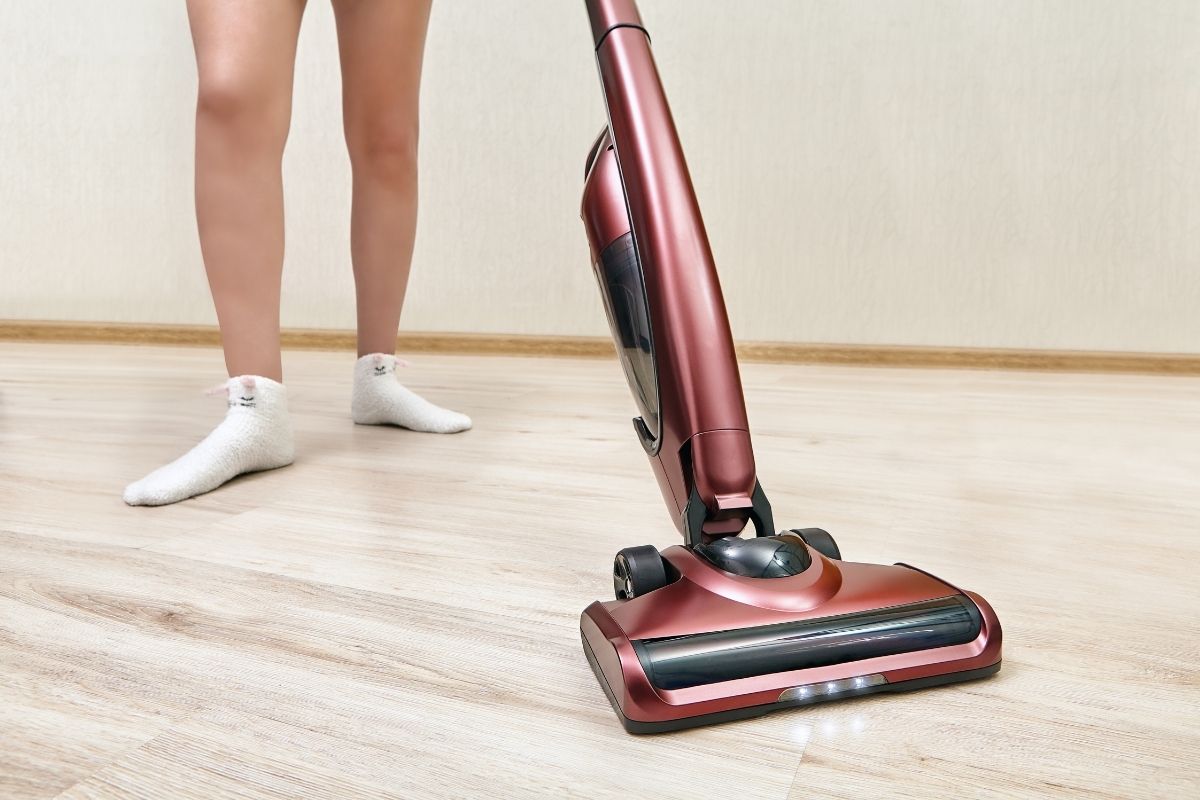
On most CrossWave models, the easy clean storage tank has a self-cleaning function. Following the steps below will activate this function.
Step One
Pour clean water into the tray, up to the MAX line, then place the vacuum back on top.
Step Two
Ensure that the vacuum is on Hard Floor Mode and recline the vacuum backwards whilst switched on. This will start the vacuum, and it’ll work its magic.
Run the vacuum for as long as it takes for the water in the tray to be picked up, this usually takes around 10 to 15 seconds.
Step Three
Now that the tray is clean, you’ll need to remove the brush roll and brush roll window to dry them. Following the steps outlined in the Cleaning Your Bissell CrossWave Brush Roll And Brush Chamber in order to remove these components.
Cleaning The Bissell CrossWave Air Filter
As we mentioned, you’ll need to clean the air filter located in the dirty water tank. It’s best to clean it at the same time as the dirty water tank.
Step One
As discussed, the air filter is located on top of the dirty water tank. Removing it is simply a case of grasping it firmly and pulling upwards.
Step Two
There are two elements to the air filter, a screen that traps dirt and debris and the filter itself. Both of these will need to be cleaned.
Add a small amount of cleaning solution, like a mild detergent, to a bowl of warm water and mix till the water becomes soapy.
Soak the filter in the soapy water, gently scrubbing all areas of the filter.
Step Three
Now that the filter is clean, rinse it thoroughly to remove the soapy residue.
Allow the filter to dry for a few hours, then replace.
Cleaning The Bissell CrossWave Float
The float on the Bissell CrossWave is designed to prevent the dirty water tank from overflowing. As it comes into contact with dirty water, it’ll need to be cleaned too.
Step One
As we have said, the float is a vital component in keeping the Bissell CrossWave clean. As it keeps the water tank clean, the float itself will grow dirty. That is why you need to clean it.
As you might expect, you can find the float right at the bottom of the dirty water tank. So, remove the top of the tank and you will find yourself left with the bare bottom piece. The float can be found within the bottom piece.
Step Two
Take the bottom piece to the sink and run it under warm water until it’s clean.
Step Three
The tank should be left out to dry before being reassembled and installed.
Wrapping Up
And there you have it! Following all the steps will leave your Bissell CrossWave sparkling clean and ready to use.
We hope you found this article helpful!


