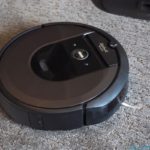
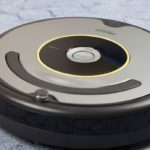
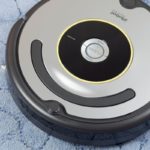
iRobot, the company behind the famous Roomba robot vacuum, have been in the business of automating daily household cleaning tasks since 2002, with the introduction of the Roomba Robot Vacuum.
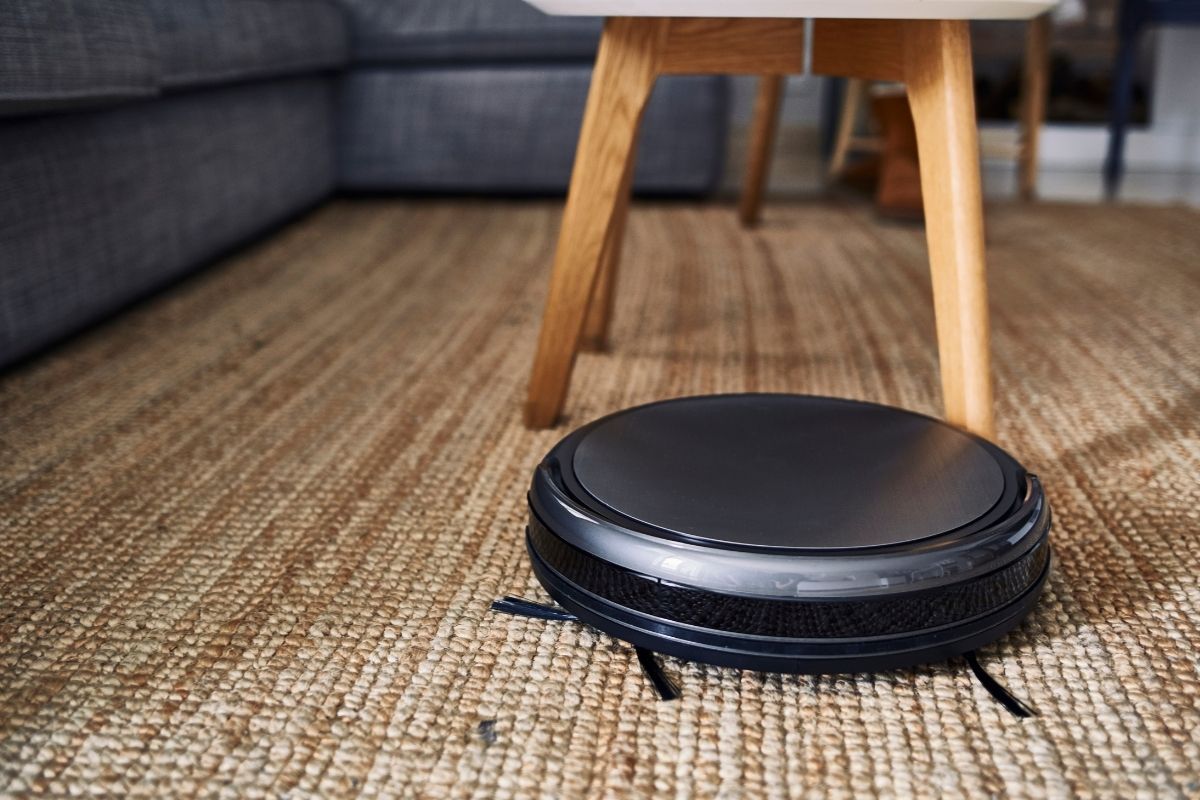
Since then, the Roomba Robot Vacuum has gone through numerous models and redesigns. We’ll be discussing how to empty the 600 Series, e Series, i Series, and 900 Series respectively.
Roomba’s are exceptionally useful when you’ve got a busy life and not enough hours in the day to clean the floor of your house.
Whilst these little robots can do a great deal of cleaning up in a relatively short amount of time, sporadically you’ll need to empty the Roomba bin.
This may be frequent depending on how dirty your house gets. It’s recommended that after several cleaning cycles, you empty the filter compartment.
We’ve created a handy step-by-step guide on how to empty your Roomba. So, if this is your first time owning and operating a Roomba, read on and learn how to empty these incredible little machines!
How To Empty A Roomba 600 Series: Step-By-Step
Before we get into the step-by-step guide for the Roomba 600 series, it’s important to note that this series was not designed to come into contact with liquid, and so they should not be washed.
Step One
When looking down on the Roomba, you’ll see a button on the top of the device close to the front face, pressing this release tab will loosen the bin compartment.
Once the compartment is loose, you’ll want to pull the bin out of the device. The Wi-Fi Connected 600 Series works a little differently.
Step Two
Now that the bin compartment has been removed, you should notice a bin door across the compartment. Opening this door allows you to empty the bin.
Note that it’s essential to open the bin door over the trash can, otherwise all your Roomba 600 Series’ hard work was for nothing!
Step Three
Looking to the bin compartment, you’ll see a plastic mesh filter. This filter is designed to be removed, a gentle tug will remove it.
Tapping the filter against your trash bin will be enough to remove any dust and debris.
Step Four
Now you’ll want to do the above steps in reverse to reinstall the bin compartment. Reinstall the filter, close the bin compartment’s door, and reinstall the bin compartment into your Roomba 600 Series.
How To Empty A Roomba e And i Series: Step-By-Step
Use the following step-by-step guide to empty both the e and i Series of your Roomba.
Step One
On the back of both the e and i Series of the Roomba robot, you will see a bin release button. This button is marked by a trash can icon. Press this button to release the bin compartment.
Step Two
Much like the 600 Series, the e and i Series bin compartment has a bin door. When holding the compartment, there is a bin door release button on the front face.
Whilst holding the compartment over your regular trash can, press the bin door release button to unlock the bin door. This button is also marked with a trash can icon.
Step Three
The filter on the e and i Series of the Roomba is on the left-hand side of the bin. With your thumb and forefinger, grasp the filter and pull it away from the bin compartment.
Once the filter has come away from the bin compartment, shaking it against your trash can will get rid of any loose dust and debris.
Like the 600 Series, the filter should not be cleaned with liquid or come into contact with it.
Step Four
It’s advisable that the main bin compartment of the e and i Series should be rinsed with warm water to rinse out any excess dust particles.
This should be done by hand only, and the bin should be completely dry before being reinstalled.
Step Five
Once the bin compartment is dry, replace the filter, click the bin door back into place and reinsert the bin compartment into the Roomba robot.
How To Empty A Roomba 900 Series: Step-by-Step
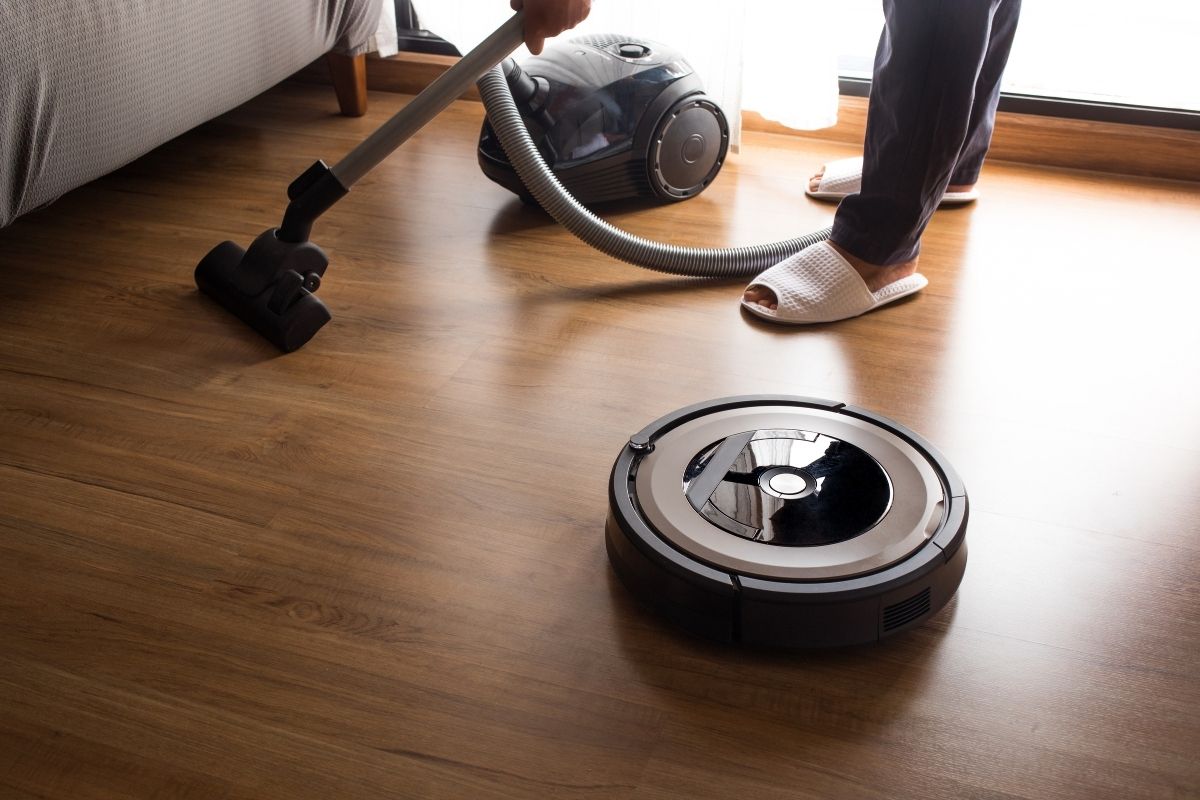
The following step-by-step instructions can also be applied to the 800 Series as well as the 900 Series.
Step One
As you’re looking at the Roomba, you’ll see a bin release tab on the top of the device, pressing this bin release tab will unlock the bin compartment.
Step Two
Once the bin has been removed, you should see a filter door release tab. Press and lift this tab at the same time to reveal the filter
Step Three
Inside the filter compartment you will see a yellow tab, pulling this tab will remove the filter.
Step Four
Shake off debris from the filter against the inside of your regular trash can. These filters are not meant to be washed.
Step Five
Once the debris has been removed from the filter, press the side of the filter against the metal lever to reinsert it into the bin compartment.
How Often Do You Empty A Roomba?
Whilst the environment your Roomba cleans plays a major role in how often it should be emptied, most robot manufacturers state that you should empty their robots’ dust bin after each cleaning cycle.
This will maintain your Roomba’s optimal performance.
Wrapping Up
Roomba’s are fantastic devices for keeping your home clean. However, they do require emptying regularly to ensure they operate properly.
The frequency of emptying your Roomba is primarily dictated by how dirty your floors get.
The longer your Roomba runs without being emptied, the more dirt it collects, which could cause problems such as clogged brushes and reduced suction power.
If you’ve found the information in this guide helpful, why not save it to your browser for future reference? That way if you ever get stuck when emptying your Roomba in the future, you can easily check back here for more information.

