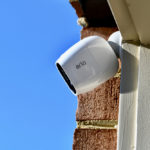
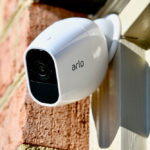
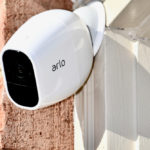
2 Methods That Prove Charging Your Arlo Camera Needn’t Be Taxing
Unlike a lot of other electrical gizmos and gadgets, wireless Arlo cameras arrive fully charged and ready for action straight out of the box — thanks Netgear!
It means we can set them up instantly and have them protecting our homes in record time. What we find even more impressive about these nifty little security cameras is that each charge will keep them ticking over for up to 4 months.
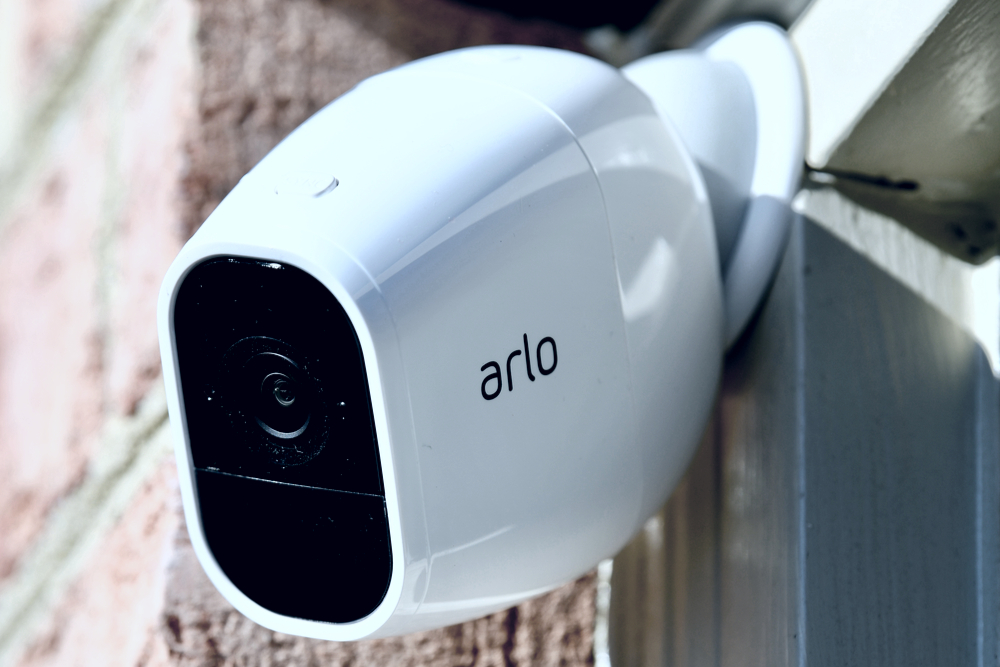
As such, it’s easy to forget that those beefy Arlo batteries will eventually need recharging, at which point, you may have misplaced your user manual or perhaps even lost the entire box. That’s why we thought a quick Arlo camera recharging guide might be just what the doctor ordered.
Charging Your Arlo Camera with Solar Energy
In our opinion, the best way to keep those Arlo batteries juiced is with some lean, green solar power. All wireless Arlo cameras can be hooked up to a solar panel for endless energy.
The solar panels charge the battery through the day, then the battery does the heavy lifting come nightfall, so you can enjoy a perpetual live stream without ever having to bring your batteries indoors for an AC charging session.
Let’s see how you can harness the power of the sun for some off-grid Arlo action…
- Purchase the Arlo Certified Solar Panel Charger.
Unfortunately, Netgear has designed the I/O interfaces of their cameras and solar panels in such a way that only certified Arlo and Wasserstein solar panels are compatible, a shrewd marketing move that pens you into the Arlo ecosystem.
It’s a tad annoying, but to be honest, Arlo and Wasserstein solar panels are so well-designed that we don’t really mind. They’re fantastic bits of gear to own!
- Mount your Arlo solar panel.
Netgear has done an admirable job of making the solar panel installation process as easy and pain-free as possible. It comes with a wall mount that you can fit with three screws and drill, then the panel just screws directly onto the mount — job done!
Make sure you pick a spot that gets lots of direct sunlight. It doesn’t have to be on your roof. It could be mounted on a fence, a garden feature, a wood store…whatever really. As long as it’s angled towards the sun for most of the day, you’ll get a good draw from it.
One last important thing to note is the length of the cable that connects the panel to the camera. It limits your choice of placement to within 8 feet of the camera mount.
- Connect the solar power cable to your Arlo camera.
Plug one end of the power cable into the frame of the solar panel, remove the rubber micro USB bung in the back of the camera, and insert the other end of the power cable into the uncovered port.
In the summer, your solar panel should be able to charge your camera from 0 to 100% battery in around 4 days. If your battery is already charged, it will keep it juiced indefinitely.
Your power yield will diminish significantly during the colder months, but it should still draw enough power to keep your Arlo camera filming 24/7.
Charging Your Arlo Camera Via an AC Outlet
You have two options when it comes to charging your Arlo camera the old-fashioned way. You can either bring the entire camera in, and use the included USB cable to connect it to an AC outlet, or you can remove the battery, and charge it independently of the camera.
We prefer the second method, as you can invest in a second rechargeable battery, and switch them over when one runs out of juice, so you never experience any downtime. However, as the battery itself has no charging port, you’ll need one of these charging stations.
- Buy an Arlo USB power cable and adapter.
These items are usually offered as an optional bundle when you purchase your camera, but don’t worry if you decided against it, as you can buy them separately here.
Just be sure to double-check that the cable and adapter you order are compatible with your model of Arlo camera. Some may only work with the Pro and Pro 2, while others may only work with the Pro 4 and Ultra.
- Check your camera’s battery levels.
You may be wondering how you’re meant to know when the battery in your Arlo camera needs replacing. Are you supposed to wait until the feed goes dead? Are you just meant to guess?
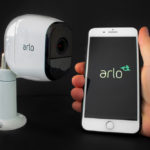
Well, actually a little note will appear across the live feed of a camera in the Arlo app, telling you that the battery is running low and needs to be charged.
- Remove the battery from your camera.
To remove the battery from your Arlo camera, first, push the button on the top-back of the enclosure.
The back half of the enclosure will swing open, revealing the battery. Push on the small plastic tab at the bottom of the battery port to release it, then slide the battery out.
- Plug the charging station into an AC outlet.
- Insert your battery into the charging station.
It should take roughly two hours for your battery to fully charge.
- Use your secondary battery to keep your camera up and running in the other’s absence.
To replace a battery in an Arlo camera, push the release button on the top, open the enclosure, then slot the battery into place until you hear an affirmative click. Then just snap the enclosure shut, and you’re done — easy, right?
Side-Note — The only Arlo camera with a non-removable battery is the Essential. To charge this model up, you’ll have to uncouple the whole unit from its mount, bring it indoors, and charge it using the USB power cable and AC wall adapter.
How To Charge Arlo Camera — Summing Up
Multiple charging options are always a welcome addition, and Arlo cameras don’t disappoint on that front. Their flexibility allows you to experiment with what charging method works best for you, streamlining your home security networks, so you’re never left with any exploitable blind spots. So, which charging method do you prefer?

