The long battery life of the Ring Doorbell 2 is certainly a key selling point. The battery can last for several months between charging and this low maintenance is a major benefit of the product, as well as its security features.
Unfortunately, having a good battery that only needs to be charged a few times a year is just enough time to forget how to recharge. So how do you charge it when the battery gets low? We have put together this handy guide to charging your battery so that even the least tech-savvy will know what to do.
Please be aware that these instructions will only work for Ring Doorbell 2. The first generation of Ring Doorbell had an internal battery that is not removable and is charged differently.
How Do You Recharge Your Ring Doorbell 2?
Firstly, it is important to mention that several factors dictate how long your battery will last. If you have noticed that your doorbell needs to be charged much sooner than last time do not worry!
The local weather, the number of activities captured on your doorbell, and your home’s surroundings all have an impact on the battery duration.
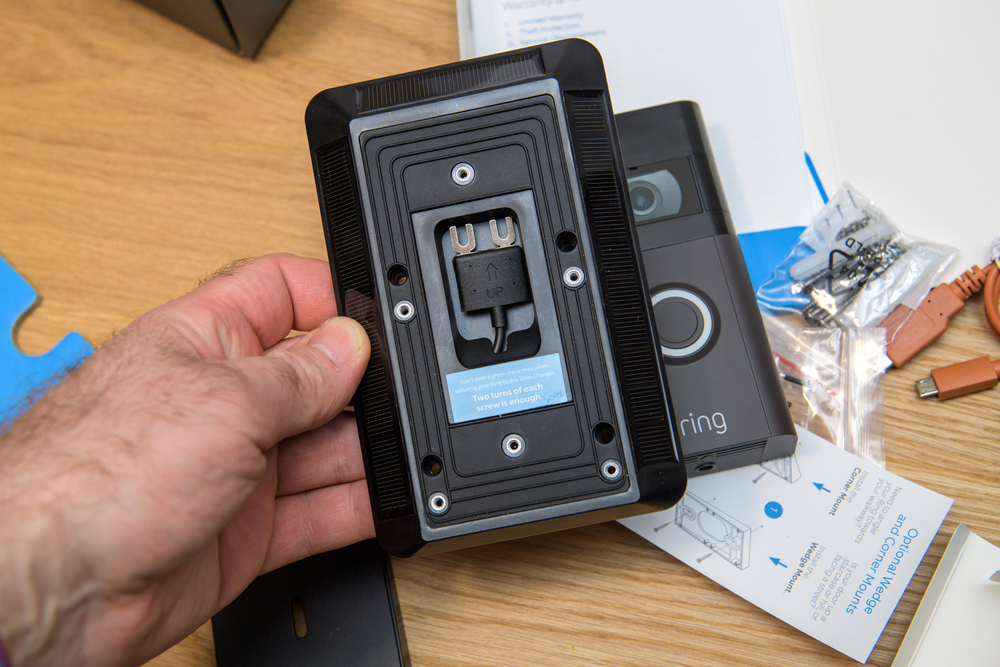
Your battery can be charged with any micro-USB cable, but for ease, an orange micro-USB cable is included in the Ring box that your doorbell came in.
This cable is then plugged into any USB power source, including computers or the head of a phone charger. Charging can take several hours so it is best to avoid using a laptop or portable battery.
The speed of the charge will vary depending on the wall outlet, in which case a full charge will take around five hours, or a computer’s USB port which can take up to ten hours.
For Ring Doorbells with a Removable Battery
Your doorbell will send a notification to your Ring App that the battery is low and it needs to be charged.
To remove the battery from the doorbell for recharging, you need to remove the security screw found at the bottom of the doorbell. You need to do this with the star-end of the screwdriver that came with your doorbell.
Next, you need to remove the faceplate. To do this, simply place your fingers under the camera at the front of the Ring doorbell and place your thumb in the middle of the underside of the doorbell. Think about using your thumb as a lever and angle the bottom of the faceplate up and away from the wall.
You can now remove the battery. You will need to press on the black tab to release the battery before you are able to pull it out of its compartment from the bottom of the doorbell.
To charge the battery, plug the charging cable into the top of the battery. Both the red and the green lights will be lit while the battery is charging successfully. When the green light is lit but the red has gone out the battery has been charged to maximum and is ready to be put back into the doorbell.
To put the battery back into the doorbell you need to first slide it back into its compartment outside your door. Remember to listen out for a click – this tells you that the battery is securely in place.
After thirty seconds your Ring Doorbell 2 will have powered back on and will be fully booted up, ready for use.
Replacing the faceplate is simple and all you need to do is slide it back on at the same angle it was taken off and click it into place at the bottom. Like the battery, once you have heard it click it is securely reattached.
Use the same security screw and screwdriver to secure the faceplate to the doorbell.
Things to Consider
To ensure that your home is always secure and protected, why not purchase a second battery? The second battery can be put into the doorbell immediately after the first is taken out for charging. This means that there is no downtime for charging and you will always be able to see who is at your door.
Ring recommends plugging the battery in to charge as soon as possible after the low battery notification. This is so the battery does not go completely flat as a dead battery may mean you need to go through the setup process again.
FAQs & Troubleshooting
The battery has been recharged following the instructions but the Ring Doorbell App says that the battery is still low. What should I do?
Ring your Ring Doorbell a few times and check back with the app. Pressing the button at the front of your doorbell updates the estimated battery power displayed in the app. By giving it some test rings you should find the app is refreshed and is displaying the correct battery measurement.
The battery has not charged.
To prevent any damage to the doorbell, Ring includes software that prevents the battery from charging if it is too hot or too cold. Let the battery come up to room temperature and then plug it in to charge.
If charging is successful the green and red lights will be lit. Once fully charged just the green light will be lit.
The battery drains quickly.
Ring Doorbell 2 batteries will lose their charge much more quickly if the temperature is below 40°F (5°C) so don’t panic! There is nothing wrong with your doorbell and you just need to charge it a bit more often.
You also need to be aware that at temperatures below -5°F (20°C) the battery is likely to stop working completely before it warms up. Do not forget to bring it to room temperature before charging!
Batteries will also drain quicker with a lot of use, as mentioned above. To combat this, you can change the sensitivity settings of the motion detectors in your doorbell.
Fewer movements detected means that the battery’s life will be extended. As a ballpark figure, Ring estimates that the battery will last for 1,000 activations with normal usage.