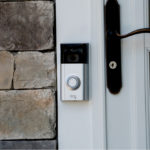
As one of the first of its kind, the Ring Doorbell has become an integral part of many people’s home security systems. Packed full of incredible features, it’s a veritable Swiss army bell. You’ve got the motion sensors, Alexa compatibility, the com-talk, the live video streaming, all accessible via the user-friendly Ring app — nice!
Yep, it’s a technological marvel, alright, which is why it’s so surprising that the thing that seems to be stumping homeowners about this smart device is fairly practical in nature. I’m talking, of course, about removing the cover.
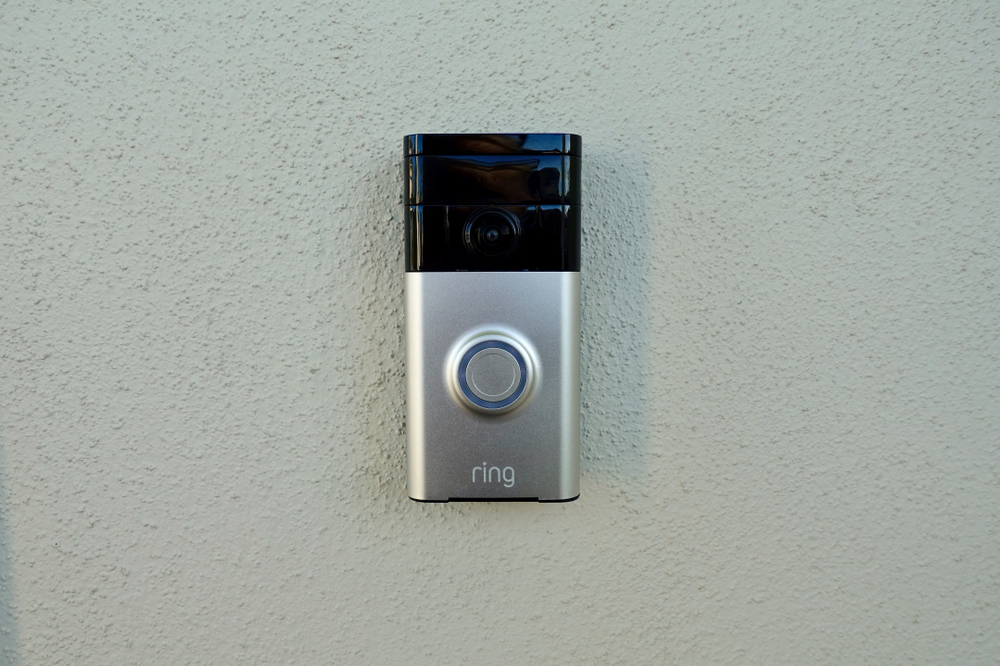
You might ask…why take the cover off to begin with? Well, for one thing, unless it’s hardwired to a pre-existing doorbell system, the battery will run dry, and to replenish its smart juice, you have to plug it into a USB-based power source. You may also simply want to jazz your Ring Doorbell up a bit with a shiny new faceplate.
Whatever your reason for popping your Ring Doorbell’s top, you can find out how it’s done right here!
Removing Your Ring Doorbell Cover
The good news is that you don’t need a degree in mechanical engineering to infiltrate your Ring Doorbell. In fact, all you really need is a screwdriver. If you kept your Ring Doorbell box, you’ll find the exact one you need in there — thanks, Ring!
If you chucked the box, don’t sweat it; you can buy this replacement Ring Doorbell screwdriver and screwdriver bit set for next to nothing. Alternatively, if you’ve got a T6 torx-head screwdriver lying around, that will work just fine too.
We’ll be running through two guides here today: one for replacing your Ring Doorbell faceplate, and one for removing the battery. Let’s get to it!
Replacing A Ring Doorbell Faceplate
Step 1. Loosening The Security Screw
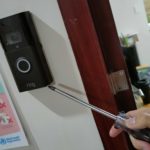
Your first port of call is to take your screwdriver and remove the security screw situated underneath your Ring Doorbell.
Depending on the height of the fixture, you may have to crouch down a bit, so those with sore backs, beware.
Press the screwdriver head firmly into the star-shaped screw recess, then turn counterclockwise until it comes out.
Step 2. Removing The Faceplate
If you’re feeling quite a bit of resistance when tugging on the faceplate, don’t hulk out on it, as you may end up ripping the entire unit from the wall. There’s a knack to it.
All you need to do is grasp the sides firmly, low down on the unit — we’re talking the last two centimeters or so.
Next, pull it straight out towards your body, so the base of the faceplate is detached from the wall unit at roughly a 45° angle.
All you need to do to pop the top of the faceplate free is pull gently down and towards your body, and voilà; your doorbell’s wearing its birthday suit!
Step 3. Fitting Your New Faceplate
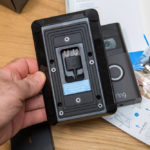
At the top inside edge of your new faceplate, you should find a little plastic hook. If you look carefully, you should see a corresponding hole on the wall unit.
Align your hook with this hole, and push the top end of the faceplate into place. Then push the bottom of the faceplate into place until you hear an affirmative click. That should be the job done, but it doesn’t hurt to give it a little wiggle to see if it’s on securely.
Step 4. Finish Things Off By Replacing The Security Screw
Replacing the security screw beneath the unit can be a little fiddly, so take your time; you don’t want to drop it and lose it down a crack in the ground or in a plant pot.
If our warning came too late, and you’ve already misplaced your security screw, you can just buy some replacement security screws. In fact, even if you’ve taken good care of your security screw up to now, it’s a good idea to stock up on replacements for future emergencies.
Removing A Ring Doorbell Battery
Step 1. Removing The Security Screw
Once again, we’re going to start by removing the security screw in the base of the faceplate. Turn it counterclockwise to loosen it, then pop it down somewhere for safekeeping. We tend to just rest ours on the top, flat surface of the wall unit.
Again, if you don’t have the original Ring Doorbell screwdriver, you can buy a replacement here.
Step 2. Removing The Faceplate
Just as we did in the first method, we’ll be tugging the faceplate from the sides, low down on the unit. Pull it out towards your body to free the bottom half of the faceplate, then pull down and out to decouple the rest.
Step 3. Removing The Battery
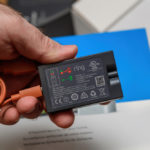
With the faceplate out of the way, you should see a little silver or black tab near the base of the unit that reads “PUSH”.
Do what the tab says, and it will release the battery from its fixture, sort of the way a Nintendo Switch game pops out of the console when you push down to eject it.
The battery shouldn’t fall straight out of the wall unit, so you don’t need to cradle it as you press the release tab, but if it makes you feel safer, go right ahead and do so.
Now, just pull the battery out, and click the faceplate back into place to protect the inner workings of the bell while the battery charges.
Step 4. Replacing The Battery
Once your battery’s all charged up and ready to go, remove the faceplate as per the instructions in step 2, push the battery back into the unit, making sure the release tab is at the bottom and facing you.
You’ll hear an affirmative click as the battery slides into place.
Step 5. Closing Things Up
Align the hook on the inside of the faceplate with the hole in the wall unit, and click it into place, then, finally, turn the security screw clockwise to lock everything up — easy!
How To Remove Ring Doorbell Cover — Summing Up
There you have it, folks; removing your Ring Doorbell is super easy, and now you’ve done it once, you can go ahead and forget about guides like this, as you’ll have the process nailed!

