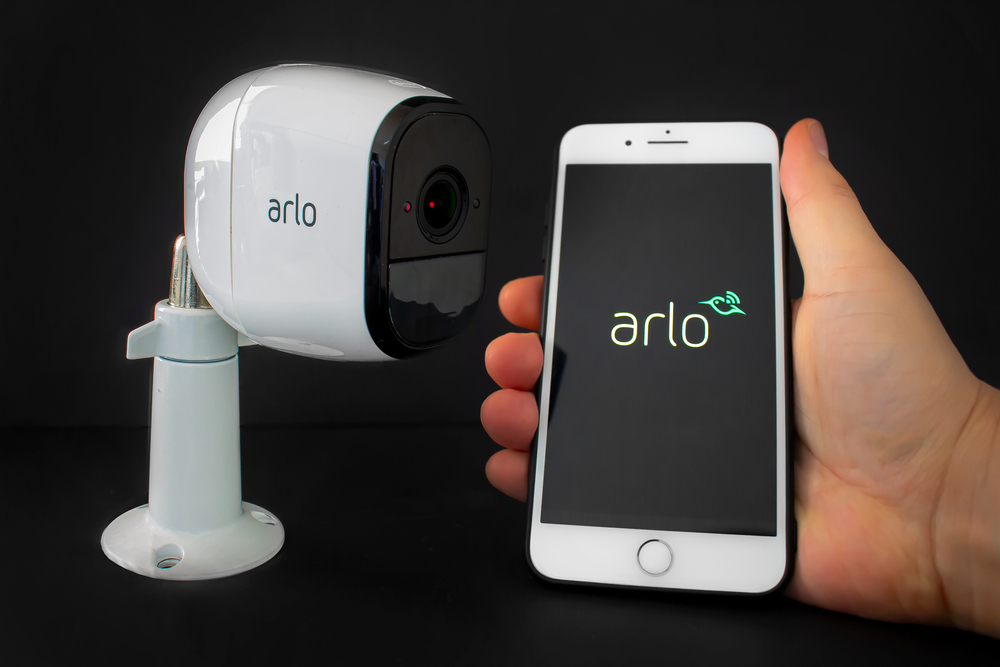
Over the past few years, Netgear has been storming the smart home security industry with its high-end Arlo security cameras. They bring color night vision and powerful 2-4K recording to the table, and perhaps best of all, they’re completely weatherproof!
But as much as we appreciate the quality of Arlo cameras, sometimes, the setup instructions seem a little patchy, leaving many homeowners scratching their heads when it comes to syncing.
So, in this article, we’re going to relieve that collective headache by showing you some step-by-step guides on syncing your Arlo cameras to your Wi-Fi router, the Arlo Base Station, the Arlo SmartHub, and, of course, everybody’s favorite virtual assistant, Alexa. Let’s get to it!
Syncing Your Arlo Camera Directly To Your Wi-Fi Network
Some Arlo cameras, including the Arlo Q, the Arlo Q Plus, and the Arlo Essential Video Doorbell, don’t require a Base Station or SmartHub, as they link directly to your Wi-Fi network via your wireless router. But how is this done? Let’s take it step-by-step.
Set Up Your Camera
Before we get started with some network syncing, there are a few basic setup procedures to complete. To do so, check out the instructions in the quick-start guide that came with your camera. This mostly just involves downloading the Arlo app and setting up your account.
Make Sure Your Phone Is Connected To A 2.4GHz Router
Arlo devices aren’t compatible with 5GHz routers. What’s more, your phone must be connected to the network that you wish to connect your Arlo camera to.
Launch the Arlo app on your mobile device.
Tap “Add Device” in the app.
Choose your camera from the “Getting Started” device list.
A list of Arlo products will then appear. Scroll through them, and when you find it, tap on your camera model.
Select “Connect without a Base Station” or “Connect without a SmartHub”.
Follow the in-app instructions.
From here, the app will guide you through a few final steps, and voilà; you’re done!
Syncing Your Arlo Camera With Base Station Or SmartHub
Most Arlo cameras, such as the Pro, Pro 2, Pro 3,Pro 4, and the Ultra require either a Base Station or SmartHub to function. These handy devices create a totally secure, personal avenue to your Wi-Fi network, facilitating long-distance connectivity and enhanced battery life.
They also double as an alarm system, helping to keep your house as secure as possible.
Here’s how you sync up your cameras with their base or hub…
Download the Arlo app from the Google Play Store or App Store.
Launch the app and create an account.
Select “Devices” on the home screen of the app.
This can be found in the top-middle of the screen between options, “Mode” and “Library”.
Tap “Add Device”.
The add device option will be at the bottom of the screen on a large blue tile.
Select your camera from the device list.
A list of Arlo products will appear on-screen. Scroll through, find yours, and tap on it.
Select “Base Station” or “SmartHub”.
You’ll arrive at the “Connectivity Option” screen, where you can choose the device you wish to connect your camera to.
Take your Arlo camera and place it within 3 feet of your Station or Hub.
This just ensures that the syncing is carried out in an efficient manner.
Once you’re within range, select “Continue” in the “Sync Camera” menu.
Press and hold the sync button on your Base Station or Hub for a couple of seconds.
Your Station or Hub will now be scanning the area for compatible devices. You’ll know it’s ready to sync to your camera when the status light on the Base or Hub starts to blink green.
There may be a couple of other status lights on your Base or Hub, so to avoid confusion, locate the only one that isn’t showing green before you hold the sync button. That’s the one you need to focus on.
Tap “Continue”.
Press and hold the sync button on the camera for a couple of seconds.
The sync button can be found on the top front of the camera — you can’t miss it.
Wait for a blue LED in the front plate of the camera to start blinking.
This means your camera has started its search for a connection.
Tap “Continue” in the app again.
Tap “Finish” in the app.
Wait for the blue LED in the camera to stop flashing, then reload the app.
When you reopen the app, you should see a live stream window on the main screen. Simply press play to test if the camera is working as it should.
Syncing Your Arlo Camera To Alexa
One of the coolest features of Arlo cameras is that they can be hooked up to your smart home network and controlled via voice commands using Alexa. Let’s take a look at how to make this technological dream a reality…
Fire your Arlo camera up and make sure it’s connected to the cloud.
Enable Alexa’s “Arlo Skill”.
This can be done in two ways. The easiest is to simply say to Alexa, “Alexa, enable Arlo Skill”. Alternatively, you can access the Arlo Skill by searching for it in the Alexa app, then tapping “Enable Skill”.
Allow the Alexa app to guide you through connecting your Arlo and Alexa accounts.
Once you’ve followed the instructions in the Alexa app, you should be able to view Arlo footage via your Amazon Echo Show, which is incredibly cool!
How To Sync Arlo Camera — Summing Up
There you have it, folks; with any luck, you’ve completed whichever syncing process you were struggling with, and now your home is streamlined, smart, and most importantly of all, secure!
Although the user manuals for Arlo cameras can be a little lackluster, thankfully, the Arlo app is not. It makes the whole process a cakewalk; you just need to know how to get the ball rolling, and now you do!