More and more homes are now taking advantage of home security systems to monitor the goings-on around the vicinity. Installing security cameras is a great way to get peace of mind wherever you live.
These cameras are not just to protect you, your family, and your home against possible burglaries and intruders. They can also keep a close eye on your front and backyards, see who is at your door, and even lower some insurance rates.
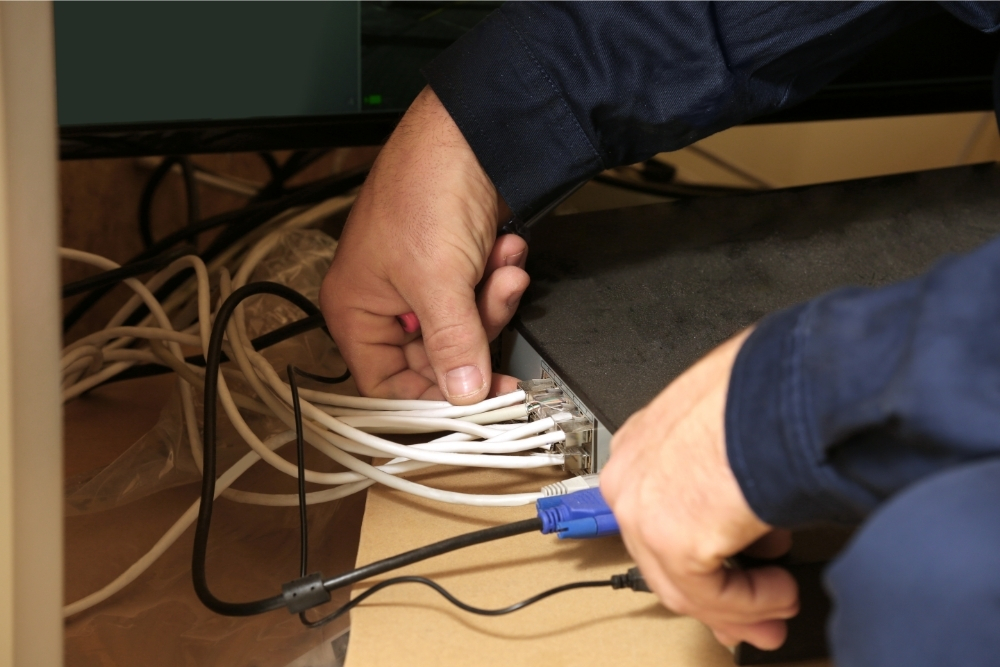
Of course, you want to deter would-be intruders by having the security cameras in plain view. However, you do not want these criminals to have access to the attached wires and cables. That is why you should hide them out of sight so no one can tamper with them and destroy your security system.
Luckily, there are some relatively easy ways to hide your security camera cables. You can run them through the soffit (overhanging arches at the bottom of your roof) or along the same lines as cable lines outside your house.
The most important factor is that these wires are kept out of sight from the outdoors but can still be connected to your CCTV or DVR inside your home.
While there are many types of security cameras, the wired kinds require a place for the wires to go and remain hidden. So, in today’s article, we are going to guide you through the process of running these wires through your attic so they are out of harm’s way with no risk of manipulation.
All you’ll need is a good quality cordless drill with a variety of drill bits, a screwdriver, electrical tape, a wiring fish tape, electrical connectors, and a saw.
Ready? Let’s get started.
Steps To Run Security Camera Wires Through Your Attic
Step One
Firstly, you need to measure the wire. Once you decide where you want to place your camera, you must measure the area between the security camera and where the main hub will be.
Therefore, you need to ensure you have a wire long enough. Measure the vertical distance from the attic and then back to where the camera is.
Step Two
Remove the soffit carefully. Now, put a piece of wood inside the soffit to fix the camera securely. Grab ahold of your drill and make holes for the mounting screws of the camera in the wood. Also, drill a larger hole to run the wire through. Attach the camera and put the soffit back into place.
Step Three
You need to be extra vigilant and careful when working in your attic as the insulation here can harm you if it’s inhaled or gets on your skin.
This is why you need to wear personal protective gear such as eye protection (with side shields), gloves, earplugs, strong shoes (ideally steel toe capped), and a mask with a rating of N95 or above. You should also wear long pants and a long-sleeved shirt as insulation can easily irritate your skin.
Step Four
Once you’re in the attic, make sure the space you need to work in is easily accessible. Of course, most of us store all manner of items from seasonal decorations to old toys in our attics so you may have to move some objects around. You may also need to put down a board or something to walk on.
Once you have reached your working space, drill holes for where the wires will pass through if you haven’t done this from outside. Then, use your fish tape to pull the wiring down to the camera.
Step Five
Now, you need to use your staple gun to hold the wires down to the rafters from the hole. Ensure that the staples are large enough to do the job properly. If they are too small, you could pierce a part of the wire, causing a fire and damaging more than just the camera’s mechanisms.
This is when you should also run the power and DVR wires to where you want them. This is if you don’t want to keep them in your attic. Many people choose a spare room or a closet for this. Once you find a reasonable spot, secure these down with staples.
Running Security Camera Wires Through Your Attic With Cable Wires
Maybe you already have cable wires or other types running through your home from your attic. If so, you can add your camera wires to these same holes. But, if you find the holes are not big enough, you can widen them with a keyhole saw or a jigsaw.
Here’s how to add your camera wires alongside other wires:
Step One
As with our first guide, you need to begin by ensuring you have enough wire. Measure the distance from where you need to place the camera to the attic and to the spot you want your DVR to go. Again, measure the vertical space to and from your attic.
Step Two
Set up your camera where you want it and then secure it down with mounting screws. We recommend using a drill to pre-drill the holes. Now, push the wires through the hole where the cables go and straight up to the attic.
Step Three
Protection is important again. Equip yourself with the same safety gear as we discussed in step three earlier.
Step Four
When in the attic, locate where the wires enter your home and the end of the wiring which you pushed up from downstairs. Pull these wires through into the attic and secure them with your staple gun.
Step Five
Pull the wires along the route the already installed cables go. Do this until they get to the main hub where you have your DVR to record video. Use your fish tape if required.
Step Six
If your cable does not run to where you wanted it to, you will have to drill new holes and pull the wires through. Attach your DVR to the wall or onto a flat surface before securing it in place with staples. This is usually in a spare room or cupboard.