Are you finding it difficult to figure out how to charge your Arlo Pro? If your answer is a resounding yes, then we are here to help you out! This home security camera is ready to be installed the moment it arrives at your front door, meaning you can begin safeguarding your home from the get go.
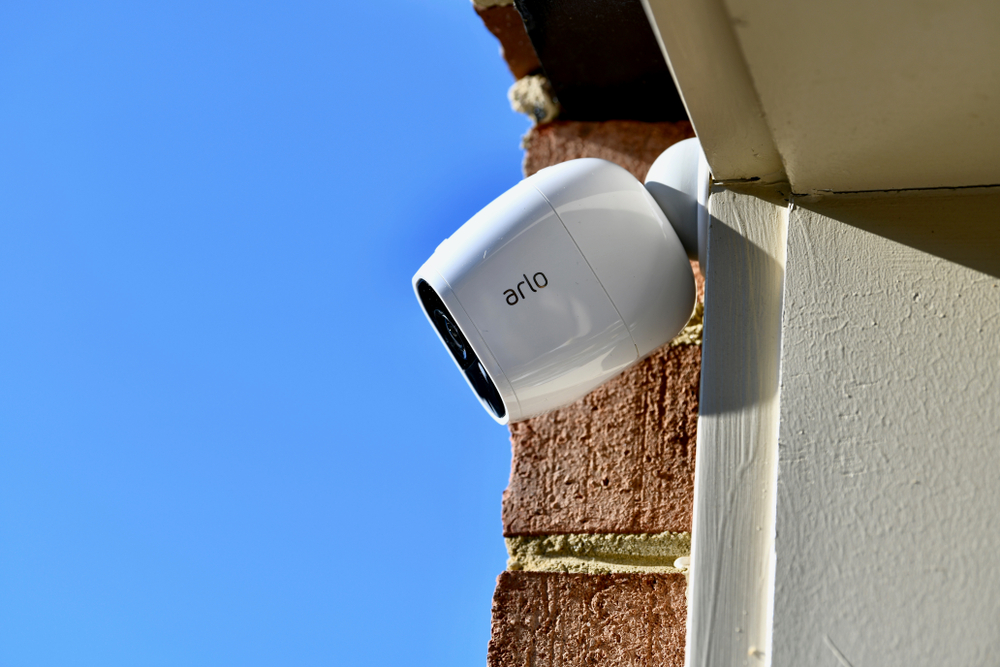
Unlike other competitor products, the Arlo Pro battery tends to have a much longer life span.
Although this means you can go about your life without having to worry about the battery dying every few weeks, if you are new to their sleek design, the complex-looking process of recharging your battery may seem like the equivalent of solving an impossible mathematical equation.
However, we are here to help you out! It does not have to be rocket science, so we have designed this guide with you in mind.
What Is The Arlo Pro?
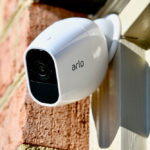
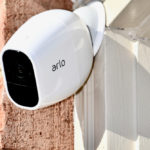
The Arlo Pro is the world’s first and only 100% wire-free, weatherproof and HD smart security camera that features audio and a unique 130 degree viewing angle. Featuring a rechargeable battery means that this camera is fairly eco-friendly in terms of other products that are currently being offered on the market.
About The Arlo Pro Battery
It is also important to note that the battery itself has no charging port, so you will need to invest in a charging station if you intend to maintain your product for a longer period of time. You should also purchase an additional rechargeable battery as a spare so if your original battery breaks down, you will not miss out on any recording.
How Often Should Arlo Batteries Be Recharged?
The answer? Not very often! Due to advancements in technology, the Arlo Pro batteries have been known to last between four and six months if you stick to 5 minutes of recordings daily. If you use your camera for more than this, it will most likely need to be recharged after three months, but that is still pretty good for a camera!
In summary, the longevity of the battery life and quality of the Arlo Pro definitely provides more bang for your buck.
How To Charge Your Arlo Pro
Below, we have listed the steps you must take to charge your Arlo Pro video camera. Whilst the process is fairly straightforward, you will need the original charging kit that arrived with the product, or a purchased replacement kit if yours has ceased working, to successfully charge up your battery.
1. Removing The Battery
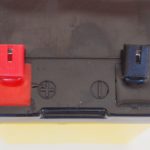
Remove the battery from your camera. To do this, push the button on the back of the camera. This will open up the compartment where the battery is situated. Then push on the small plastic tab at the bottom of the battery port to release it, and slide the battery out, ready for the next step.
2. Connecting The Camera To A Power Cable
Connect your Arlo pro powered camera or security light to the Arlo AC power adapter cable.
3. AC Power Outlet
Next, plug this adapter into an AC power outlet. You can plug it into any socket around your home at your own convenience. Then, add the Arlo Pro battery into the charging station and wait for it to begin charging.
4. Check If The Battery Light Is On
Leave the battery in the charging station for approximately 10 minutes. Whilst you are waiting, feel free to grab yourself a cup of coffee or simply take a breather.
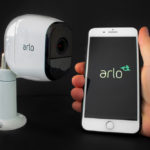
When the timer is up, check on the corresponding mobile app to see if a lightning bolt icon has appeared on the screen. This indicates that the battery is charging and if it is present, you can be rest assured that you are heading in the right direction.
5. Battery Light Is Not Turning On
However, if you do not see this icon, it indicates that your Arlo Pro product is not receiving the correct power. If this is the case, you must remove the battery from your Arlo product altogether, reinsert it, and then double check to see if you have properly plugged the power adapter into the wall.
6. Successful Charging
When the charging process has begun, your adapter should quickly flash blue, which indicates that the battery is now charging. Do not be alarmed by this flashing light – it will turn itself off after only a few seconds. It is just a visual confirmation that you are correctly charging your product!
7. The Battery Is Now Charged
Finally, it will be easy to tell when the battery is fully charged, as the once flashing blue light will become static. You can also check its progress on the app to see if the battery is fully charged. Realistically, it might be a good idea to double-check on the app anyway.
8. Place The Battery Back Into The Camera
This is simple. Push the release button on the top to open the battery enclosure. Then, push the battery back in place until you hear a click, shut the enclosure, and you are officially done!
Our Top Tips
- Keep your secondary battery charged and ready to make sure that your Arlo Pro camera stays up and running.
- Make sure to check both the mobile app and the Arlo website interface for an accurate percentage of charge left in your battery.
- Insert the battery into the charging station within two minutes of plugging it in to the adapter. If you are too slow, simply unplug the adapter, count to ten, and then repeat the above steps.
- It takes the average Arlo Pro battery around two hours to go from flat to full charge. So make sure that you have patience and remember to stay calm!
Summary
This method of charging your Arlo Pro is relatively straightforward, and takes a considerably shorter amount of time than you might expect.
Though this does partially depend on how empty the battery is prior to charging, it will always be around the same amount of time. Just follow these instructions, and you truly cannot go wrong!

