5 Suggestions And Guides For Mounting Your Arlo Camera Outside
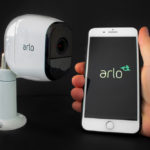
Developed by stalwarts of the modem and router industry, Netgear, Arlo cameras are a nifty way to enhance your home security network, providing constant real-time footage of goings-on in and around your property.
Thanks to the intuitive interface of the Arlo app, these security cameras are easy to set up, sync, and control, but one area that falls beyond the remit of the app is the mounting process.
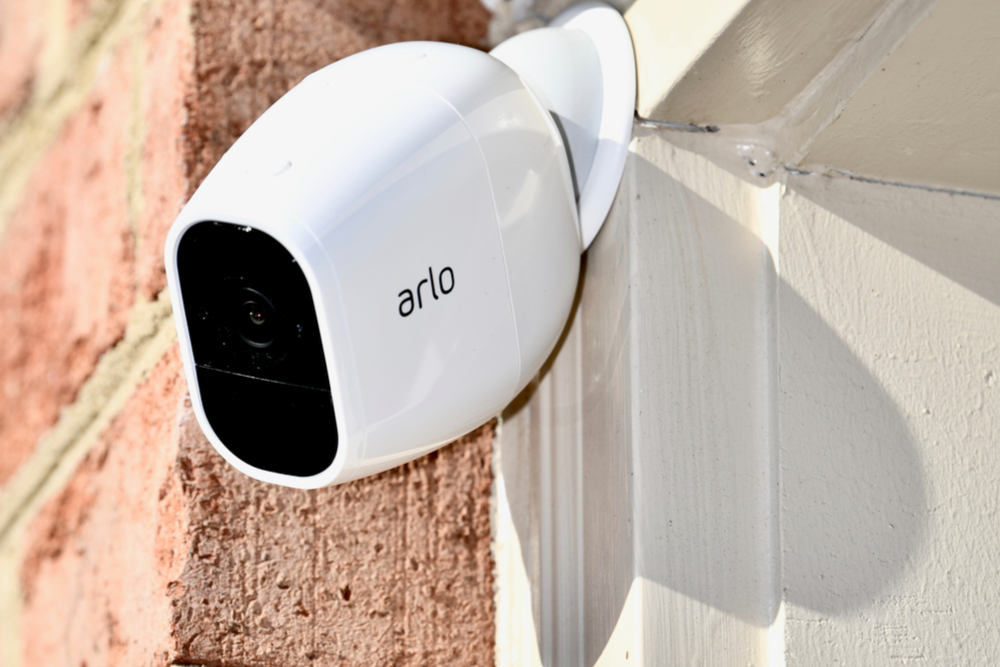
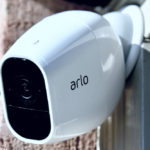
Most Arlo cameras arrive with a flexible magnetic mount, which is a nice touch, but it’s only really suitable for indoor mounting. If we relied on it for outdoor mounts, there’s nothing to stop a ne’er do well from ripping it from its setting and stealing it.
So, what are your options when it comes to mounting Arlo cameras outdoors? Let’s investigate.
Mounting An Arlo Camera Outside Using The Included Magnetic Mount
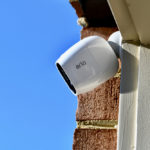
First, let’s take a look at how to install the standard Arlo magnetic mount. The key here is to fit it as high up your house wall as possible, keeping it well out of reach of trespassers and thieves.
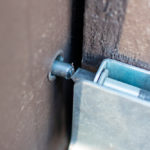
Step 1: Drill a single screw into the mount location. Leave roughly a centimeter of the screw protruding to hang the magnetic base on.
If you’re installing the camera on a brick wall, you’ll need to drill a hole, insert a rawlplug, then insert the screw. For installation on wood, you can drill the screw directly into the structure.
Step 2: Hang the magnetic mount on the screw.
On the back of the magnetic base is a hole for latching onto the protruding screw head.
Step 3: Connect the back of your camera to the magnetic mount.
As if by magic, your camera will stay firmly in place.
Are There Any More Secure Alternatives To The Arlo Magnetic Mount?
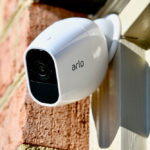
If you’d like something a little more secure than the magnetic mount that comes with your Arlo camera, we’d recommend something along the lines of this Arlo-certified adjustable outdoor mount.
Step 1: Use the baseplate as a guide, and drill three holes.
Step 2: Insert a rawlplug in each hole.
Step 3: Insert a screw into each plug, and tighten them up with your drill.
Step 4: Screw your camera onto the mount.
These mounts are particularly good if you want to fit your camera on a porch overhang, as they can easily be installed on ceilings.
The only downside that we can see with this design is that, if they’re within arm’s reach, someone could unscrew them, which is why we recommend investing in one of these Wasserstein anti-theft security chains.
Admittedly, they’re a little fiddly to set up, but once everything’s in place, your camera isn’t going anywhere!
Are There Any More Flexible Options For Awkward Spots?
We suggest choosing something like this 3-Joint mounting bracket for maximum flexibility. Setup is exactly the same as the Arlo-certified adjustable outdoor mount, but you’ll be using four screws instead of three.
Mounting An Arlo Camera To A Gutter
You may not realize it, but just because you’re mounting your Arlo camera outside, doesn’t mean you absolutely have to install it on a wall.
There are plenty of innovative products out there that allow you to get adventurous with your mounting, facilitating better fields of view, and ultimately, a safer household.
One such product is the Wasserstein weatherproof Arlo gutter mount. Compatible with the Arlo Pro, Pro 2, Pro 3, Pro 4, the Arlo HD, the Arlo Ultra, and the Arlo Ultra 2, this ingenious device allows you to mount your Arlo camera on the guttering of your house.
There are two massive benefits to mounting your Arlo camera on your gutter. Firstly, it’s too high up for trespassers to meddle with. Secondly, as your guttering runs around the entire perimeter of your house, you can achieve a birds-eye-view of any area.
It’s also non-invasive, meaning it requires zero drilling, but it’s a good idea to assess whether your gutters are strong enough to hold the weight of the mount and your camera before you install it.
Step 1: Install your Arlo camera on the camera mounting plate using the standard screw-in method.
Step 2: Use a ladder to haul the mount up to your gutter.
Step 3: Hook the mount over your gutter.
Step 4: Secure the mount to your gutter by turning the hand screws clockwise.
It’s really as simple as that, folks — no tools, no advanced techniques, just climbing a ladder and tuning some screws by hand. Now you can enjoy 360° swivel and 180° tilt flexibility, ensuring you won’t have any blind zones on your property.
Mounting An Arlo Camera To A Railing, Branch, Fence, Or Porch Light
For those with large, winding properties, a simple house-mount may not be sufficient to give you eyes where you need them. Luckily for you, there are plenty of alternative mounts available.
One of our favorites is this adjustable gooseneck-like twist mount from Wasserstein. Encapsulating the camera in a rubber skin, providing plenty of weather protection, it can then be hung by the malleable rubber tail from branches, fence posts, railings…you name it.
It’s compatible with the Pro 3, Pro 4, Arlo Ultra, and the Ultra 2, and here’s how to install it…
Step 1: Slot your Arlo camera into the main rubber casing.
Step 2: Screw the rubber tail into the top of the casing.
Step 3: Coil the tail around an object, leaving the camera dangling like fruit beneath.
Much like the gutter mount, the gooseneck mount requires a grand total of zero power tools. Our one piece of advice is to place it somewhere with plenty of cover, as there are no anti-theft features to speak of.
How To Mount Arlo Camera Outside — Summing Up
Mounting security cameras can be a pretty intimidating task, but Netgear and a number of other 3rd-party companies have done a fantastic job of making it as easy as possible, so there’s really nothing to be afraid of.
As long as you have a ladder lying around, and you’re handy with a drill, you won’t find the installation process difficult at all, and even if you’re not so hot with power tools, you can choose something like the adjustable gooseneck-like twist mount or the Wasserstein weatherproof Arlo gutter mount and get the job done using nothing but your bare hands!

