Of all the security cameras that can be connected to smart home devices, there is no denying that Blink cameras are one of the most popular.
Despite the fact that there are quite a few different cameras compatible with both Amazon Alexa and Google Home software, including Ring and Google Nest cameras, people keep coming back to Blink.
There are lots of reasons why Blink might be the most popular. It could be the fact that Blink cameras are wireless, it could be the fact that they are quite affordable, or it could be the fact that they have an excellent reputation.
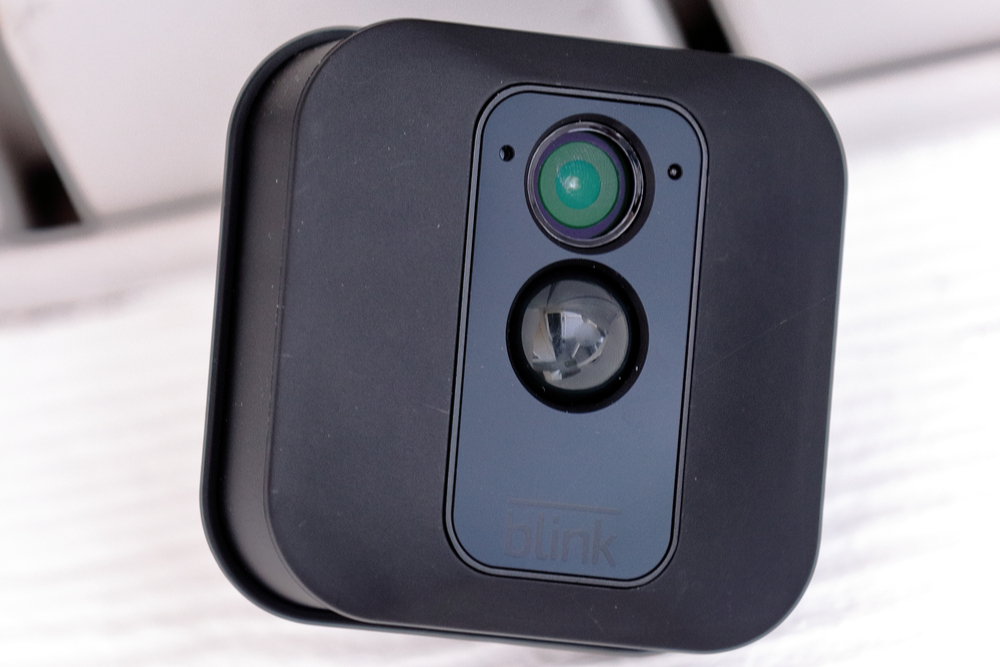
Whatever the reason, there is no denying that something else which makes Blink cameras so great is how easy they are to mount.
While they are easy to mount, if you have not done this before then it can be a little tricky. That is why we have created this detailed and straightforward guide.
So, if you want to find out how to mount your Blink camera both in and outside your home, then keep on reading.
What Are Blink Cameras?
First things first, let’s quickly take a look at what Blink cameras are. Blink is an Amazon company which produces a couple of different cameras.
These cameras can be used both inside and outside the home, and have been designed to help individuals design and create their very own home security system.
Primarily, Blink cameras were designed to be used with the Amazon Alexa home software, but they can be modified if you wish to pair them with Google Home software.
Blink cameras are very popular because they are easily affordable, straightforward to use, and they can bring real peace of mind once you have them set up in your home. If you are anxious after a series of break-ins and robberies in your area, then a Blink camera is perfect.
If you are nervous about leaving your new puppy at home alone for the first time, then a Blink camera allows you to check in on them. And if you simply just want to feel more secure in your home, then installing Blink security cameras is the best way to do this.
Once your Blink cameras are set up, you can monitor everything that is going on both in and outside your home by simply checking the app on your phone.
Additionally, you can set up motion detection notifications, and can even communicate with the inside of your home simply by speaking to your phone. But how do you mount Blink cameras? Let’s take a look.
Is The Process Different For Indoor/Outdoor Cameras?
Before we take a look at how to mount your Blink cameras, let’s find out if the process is the same for all the different Blink cameras. Blink initially produced 3 different types of camera, they were the mini, indoor and outdoor cameras.
But since then, their product range has grown, and they now offer floodlight cameras and video doorbells. The process for installing both of these new cameras is a little different, mainly because of the areas in which you would use them.
But, thankfully, all the other cameras the Blink produce can be installed in the same way.
Of course, there will be some minor differences when installing an indoor camera compared to an outdoor camera. This is mainly because of the tools that you will need to use.
If you are installing a camera outdoors, then you will likely require stronger tools to be able to penetrate the wall upon which you are installing the camera.
But the strength of the tools aside, the process of installing your camera will be the same, no matter whether it is an indoor or outdoor camera.
So, with no further ado, let’s find out how to mount your Blink cameras.
How To Mount Blink Camera
The great thing about Blink cameras is that they are very lightweight, and this makes mounting them very easy.
To make the process even easier, Blink cameras come with a complete kit which can be used to mount them. This kit includes a right-angle opening tool/adapter, a cone-shaped mount for the camera (that matches the color of your camera), and 2 screws.
First, you need to check out the camera’s view, and decide if the location is suitable for the field of vision that you want to monitor. With your one hand holding the camera in place, use your other to open the Blink app on your smartphone.
This allows you to see what your camera is seeing. Once you are happy with the position of your camera, mark the spot so that you know where to mount it.
When deciding on your location, it is not only important to look at the view, but you also need to check that it has 3 bars for both Wi-Fi and Sync modules.
Once you have decided on your location, you can then install your mount. This is really easy to do, as you can simply use the screws included in the kit to drill the mount into the wall.
If you are mounting an outdoor camera, however, you might be better off using some heavy-duty screws instead. With your mount connected, you then simply have to connect your camera, you can either do this horizontally or vertically.
When you are mounting your camera horizontally, you will need to take advantage of the right-angle tool that we mentioned earlier.
Connect this first to your camera, then simply force the end of the adapter into the connecting point of the mount. When you hear a clicking noise, your camera is connected.
If you want to install your camera vertically, this is a lot easier. With this, the back of your camera will be able to connect directly to the volcano mount. Simply push the camera up against the mount, and when you hear a clicking noise, it will be secured in place.
Summary
In short, as you can see, mounting your Blink camera is actually pretty easy. No matter whether you are installing it indoors or outdoors.
So, if you want to find out how to do this, simply check out this guide to find out more.

