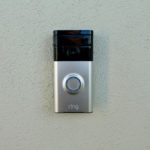
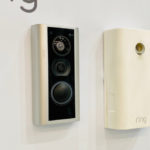
When Amazon first released their Ring home devices, they really took the world by storm. Their Amazon Echo devices completely changed the way that people looked at smart technology, and suddenly people became eager to add more smart devices and more convenience to their home.
Home security systems once seemed like something that only the rich and famous would install in their homes. But, when Amazon released their Ring home devices, they made home security accessible for everybody.
Suddenly, people have been given the ability to monitor what is going on in their homes, even when they aren’t actually in them.
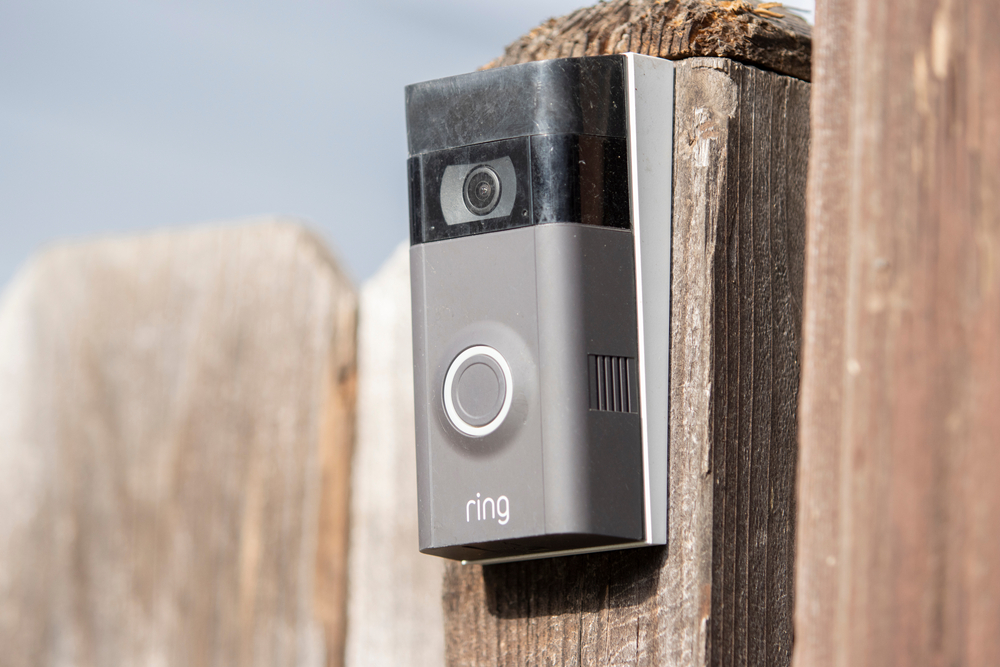
But the one downside of the Amazon Ring devices is that they cannot operate without a Wi-Fi connection. It is understandable that they require a Wi-Fi connection to work, but this does bring with it a number of issues, and difficulties.
One of which is changing the Wi-Fi connection on your devices, every time that your Wi-Fi network changes.
In this guide, we’ll be taking a look at how to change the Wi-Fi on your Ring devices. So, to find out how to do this, keep on reading.
What Ring Devices Require Wi-Fi Connection?
First things first, let’s take a look at what Ring devices require a Wi-Fi connection in order to operate. In short, this is a very easy question to answer because almost all the Ring devices that are produced will require a Wi-Fi connection in order to operate.
In fact, it is easier to tell you which Ring devices do not require a Wi-Fi connection than it is to tell you all the devices which do require Wi-Fi.
These devices are the Ring Doorbell Elite, and the Ring Stick Up Cam Elite. But don’t let the fact that these devices do not need a Wi-Fi connection mislead you. These devices do not require a Wi-Fi connection because they require an Ethernet connection instead.
So, every single Ring device requires some sort of connection to the internet, whether it be via Wi-Fi or direct Ethernet connection.
Without an internet connection, your Ring devices will not work at all. The cameras will not record, and you will be totally unable to access the view that your camera is seeing. Ring devices rely entirely on the internet to operate, record, and store footage.
So, without this, the devices will be useless. This is why it is so important that your Ring devices are always connected to Wi-Fi.
Why Won’t My Ring Camera Connect To My Wi-Fi?
As Ring devices rely so heavily on Wi-Fi connection, it can be incredibly frustrating when you realize that your camera is not connecting to the Wi-Fi.
The most common time when this will happen is when you are initially setting up your Ring camera. But, if you struggle with Wi-Fi patchiness in your home, then you might experience this issue more regularly.
A lot of the time, if you are experiencing connectivity issues between your Ring camera and your Wi-Fi, these will actually be caused by your Wi-Fi network, rather than the Ring camera.
These issues might include poor Wi-Fi signal in the area of your home where you are installing the camera, errors when typing in the Wi-Fi password, or the use of special characters in the Wi-Fi password. Issues with special characters would likely occur in the initial set up, but past this, it is unlikely that the Wi-Fi password would cause any connection issues.
So, if your Ring camera will not connect to your Wi-Fi, you should first check your Wi-Fi network to see if there are any issues with it. Failing this, you should then consider resetting your Ring camera (if it has suddenly stopped working), or check the power connection to the device as this could actually cause issues with the Wi-Fi.
But, if you are experiencing issues with your initial Wi-Fi connection, or want to change the Wi-Fi network, then keep on reading to find out how to do this.
How To Change Ring Wi-Fi
If you are familiar with using Ring Wi-Fi devices, then you will know that everything to do with these devices is channeled through the Ring mobile app. So, to change the Wi-Fi connection for your Ring devices, you first need to open the Ring app.
With the Ring app open, you should then click on the 3 horizontal lines located on the top left-hand side of the app. This will open up a menu, from which you should select ‘devices’.
This will give you a list of all the different devices that you have connected to your Ring account, you should then click on the device which you want to update the Wi-Fi network of.
Once you have selected the device, you will then be taken to something known as the ‘device dashboard’. This will give you lots of different options, allowing you to look at ‘device settings’, ‘motion settings’, and lots more.
You should select ‘device health’ which will then give you access to the Wi-Fi settings for that device, here you will be able to ‘Change Wi-Fi network’ or ‘Reconnect to Wi-Fi’. Select ‘Change Wi-Fi Network’, then follow the instructions in the app to update your Wi-Fi network.
Simply repeat this for all of your Ring devices.
One reason why you might be trying to update your Wi-Fi network is because you have poor Wi-Fi connection in certain areas of your home. To fix these issues, some people might switch Wi-Fi networks, but depending on the Ring devices that you have, you might not need to do this.
If you have a Ring Chime Pro as part of your Ring device set-up, then this will actually work as a Wi-Fi booster/extender. So, if you are experiencing issues connecting to your Wi-Fi, try connecting to your Ring Chime Pro before you change your Wi-Fi network.
Summary
In short, this has been a complete guide to how to change the Wi-Fi on your Ring devices. So, if you want to do this, simply follow these steps, and it will be as straightforward and stress-free as possible.


