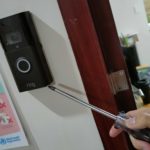
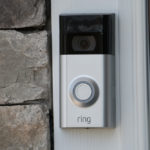
Smart doorbells can really help bring convenience to your home life using state-of-the-art modern technology. Ring’s video doorbells contribute to safer neighborhoods, as you can see who’s at your door before you answer.
However, if you’re not a DIY professional or an electrician, you may be slightly confused when it comes to installing a doorbell. Especially a smart doorbell such as a Ring Doorbell.
We’ve saved you some time by putting together our handing guide below, which will take you through some hassle-free steps to install your new Ring doorbell.
Step 1: Download the Ring App
Download the Ring app from the website or your smartphone’s app store. The doorbell will function using the app, and the app can be easily downloaded onto iOS, Android, Mac, and Windows devices. Create a new account once you’ve installed the app and follow the instructions to set up your Ring app.
Step 2: Charge and Fit the Battery
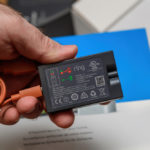
Make sure the battery on your Ring Doorbell is correctly installed and fully charged. The doorbell will come with rechargeable batteries so make sure to check the charge on them regularly.
You will also receive a power adapter with the Ring Doorbell package, so you can connect it to the battery to charge it. The LED light will indicate when the battery is fully charged, so you can then put the battery in the doorbell and it should turn on if the battery has enough charge.
Step 3: Connect to Wi-Fi
Next, you’ll need to connect your Ring Doorbell to a Wi-Fi network. Using the Ring app on your smartphone, enter your Wi-Fi password and connect to the network to begin using the doorbell.
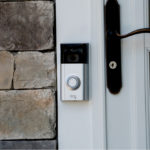
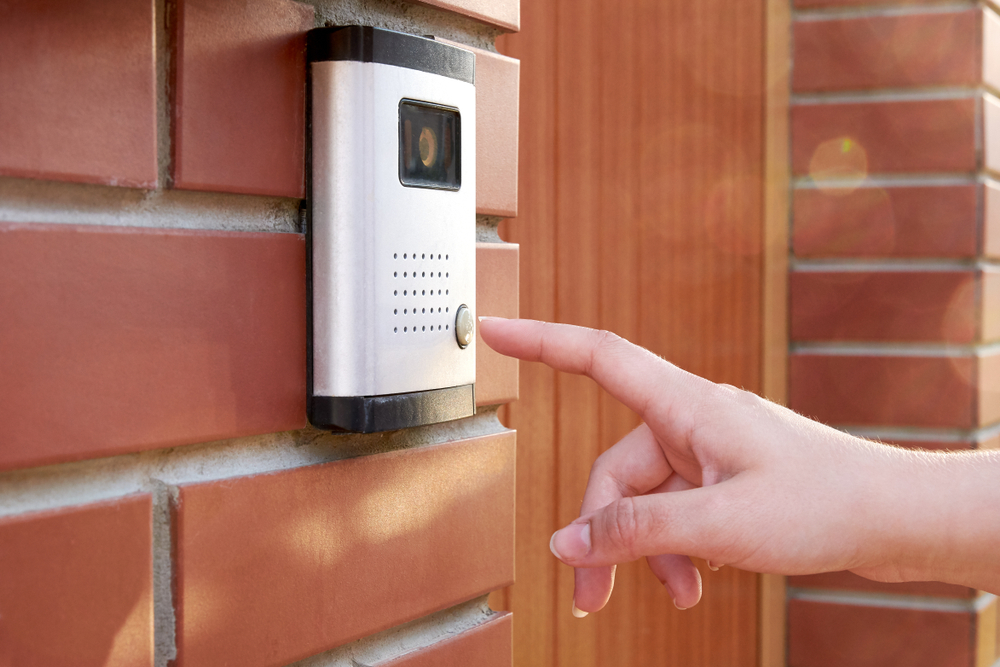
Step 4: Manually Install the Doorbell onto Brick Wall
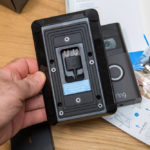
If you already have a wired doorbell installed, you need to turn it off and remove it from the wall. Next, you need to fit the Ring Doorbell baseplate to the frame on your door. Insert the level right into the center of the baseplate, then, using a pencil, mark where the screw holes are in the four corners of the doorbell’s baseplate.
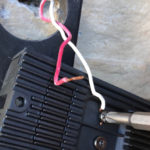
Use a screwdriver to push the matching screws through the screw holes in the base plate and into the doorframe. Then, use a drill to put four holes into the doorframe. There are some plastic anchor bolts included with your Ring Doorbell.
You’ll now need to insert these into the four holes you have just drilled. Then, use the drill to drive the screws into the plastic anchor bolts to secure the doorbell.
Step 5: Check the Video Connection
It’s important to check the video connection from your doorbell after successful installation. Making sure that your Ring Doorbell is close enough to your router will allow for better connection and therefore better video quality.
You need a connection speed of at least 2Mbps (up and down) for the signal to be strong enough. You can check video quality by logging into your Ring Doorbell app.
Step 6: Finish Installation
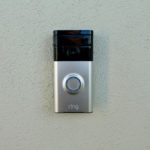
Once you’ve checked your Ring Doorbell’s connection quality, you can finish the final steps of the manual installation. Attach the doorbell device to the baseplate by loosening the screws at the bottom and latching the doorbell to the baseplate.
Once the doorbell has latched onto the baseplate sufficiently, re-tighten the screws at the bottom and you’re good to go!
Step 7: Finish Setting Up Your Ring Doorbell App
Once installation is complete, you need to set up your Ring Doorbell App so it can communicate with your Ring Doorbell device. Do this by entering your current address and the location of the camera as well as setting the correct motion sensitivity.
Depending on which Ring Doorbell device you have purchased, features may differ. Some have more features than others such as customized motion sensitivity and motion schedules, all of which can be found in the product information manual or on the website.
You should now have live video recording from your Ring Doorbell to your smartphone or PC. You’ll receive motion notifications, and notifications when your doorbell rings. The live video feed is excellent for providing additional security to your home, and you may decide to set up multiple Ring Doorbells depending on your individual requirements.

